In today’s digital world, QR codes are everywhere. They help us share and interact with information easily. But, can you imagine making a QR code by hand? This guide will show you how to create QR codes manually, their uses, and the science behind it.
Key Takeaways
- Discover the surprising possibility of creating QR codes by hand
- Understand the fundamentals of QR code structure and components
- Learn the step-by-step process of manually drawing QR codes
- Explore the practical applications and benefits of handwritten QR codes
- Gain insights into the challenges and troubleshooting tips for handwritten QR codes
Understanding QR Code Basics and Structure
Let’s dive into the world of QR codes. We’ll look at their basic structure and what makes them so useful. This guide will help you understand the core parts of these square barcodes.
Anatomy of a QR Code
A QR code has a grid-like pattern at its core. This pattern is designed to pack data into a small space efficiently. Each square in the grid is a binary digit (0 or 1), forming the code’s unique look.
The way these squares are arranged lets scanners read and understand the data.
Different QR Code Versions and Capacities
- QR codes have different versions, from Version 1 to Version 40. Each version can hold more data.
- Higher versions mean more modules, allowing for more information. This can be anything from text to encrypted files.
- The version of a QR code depends on how much data it needs to hold. This ensures it can be scanned and decoded well.
Essential QR Code Components
A QR code has more than just its grid. It has several key parts for reliable scanning and decoding. These include:
- Finder Patterns: These help the scanner find and align the QR code.
- Alignment Patterns: These correct any distortion or perspective issues during scanning.
- Timing Patterns: These alternate dark and light modules help determine the module size and grid alignment.
- Version Information: This encoded data tells the scanner which version of the QR code it is.
- Format Information: This data gives details about the error correction level and mask pattern used.
Knowing how QR codes are structured and what they’re made of is key. It’s the first step in creating and scanning these versatile barcodes, whether they’re digital or handwritten.
Can You Handwrite a QR Code?
Yes, you can handwrite a QR code! It might seem hard, but with practice, anyone can do it. Handwritten QR codes can be used for personal branding or to keep information safe.
To draw a QR code by hand, you need to copy its black-and-white grid pattern. This pattern holds the data you want to share. By carefully following the pattern, you can make a unique QR code.
The Advantages of Handwriting QR Codes
- Adds a personal, handcrafted touch to your branding and marketing materials
- Can be used to secure sensitive information by creating a unique, one-of-a-kind QR code
- Serves as a fun and creative way to engage with your audience and stand out from the crowd
The Challenges of Handwriting QR Codes
- Requires a keen eye for detail and precise execution to ensure the QR code is scannable
- Ensuring the proper alignment and sizing of the grid modules can be tricky
- Maintaining the necessary error correction levels to account for potential distortions or damage
Handwriting QR codes might be tough, but it’s worth it. With practice, you can make unique QR codes. These can impress your audience and leave a lasting memory.
| Advantages of Handwriting QR Codes | Challenges of Handwriting QR Codes |
|---|---|
|
|
The Science Behind Manual QR Code Creation
This section dives into the technical details of QR codes. We explore the science behind making them by hand. Understanding the basics and error correction helps us decode these codes.
Understanding Binary Patterns
Every QR code is built on binary patterns. These patterns use square modules, each with a specific state. To master qr code handwriting techniques, you need to grasp these patterns and their role in the QR code.
Error Correction Levels
QR codes have strong error correction. They can handle damage or distortion well. There are four error correction levels – low, medium, high, and ultra-high. Knowing these levels is key when decode handmade qr codes manually.
Grid Alignment Requirements
Creating QR codes by hand requires precision. The QR code grid must be accurately replicated. If not, the code can become distorted and unreadable.
“The true essence of QR code mastery lies in the seamless integration of binary patterns, error correction, and grid alignment – the very foundations of manual QR code creation.”
Essential Tools and Materials for Handwriting QR Codes
To create handwritten QR codes, you need specific tools and materials. This ensures your QR codes are accurate and precise. The right equipment makes a big difference in the final result. Let’s look at the key items for effective QR code handwriting.
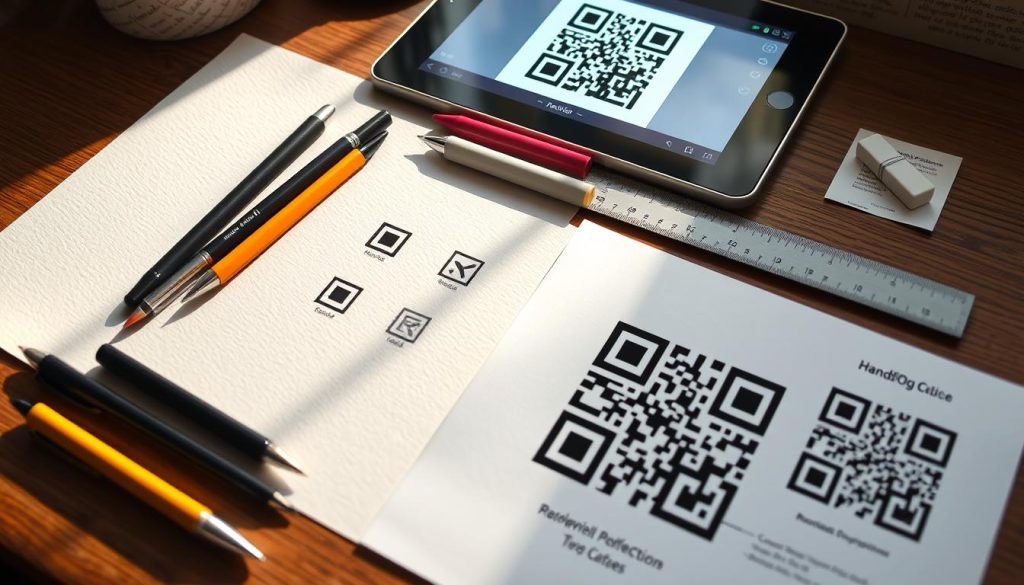
First, you need grid paper or graph paper. This paper has a grid of squares. It helps you place QR code modules correctly. The grid ensures your QR code is aligned and proportioned right for scanning.
You also need a fine-tipped pen or marker for the QR code’s black modules. Choose a pen or marker with smooth flow and fine tip. Ballpoint pens or markers with broad tips might not be detailed enough for QR codes.
For advanced QR code making, consider a specialized QR code drawing tool. These tools have grids and guidelines. They also have features like rulers or templates for aligning modules.
Lastly, a magnifying glass or loupe is very useful. It lets you check your QR code closely. This ensures each module is in place and the pattern is perfect. A magnifying glass helps spot errors before you finish your QR code.
With these essential tools and materials, you’re ready to make high-quality, handwritten QR codes. They can be scanned by a handwritten qr code scanner. Remember, paying attention to detail and having a steady hand are crucial for successful QR codes.
Step-by-Step Guide to Drawing QR Codes Manually
Creating a handwritten QR code might seem hard, but it’s easier than you think. This guide will show you how to draw QR codes by hand. We’ll cover everything from setting up your grid to checking your work.
Grid Preparation Techniques
The first step is to make a square grid. You can use paper or a whiteboard. Make sure the grid is big enough for your QR code. QR codes can be from 21×21 to 177×177 modules.
- Choose the right grid size for your QR code.
- Draw horizontal and vertical lines to make the grid. Make sure they are straight and evenly spaced.
- Mark the quiet zones, finder patterns, and alignment patterns. These help you place the modules correctly.
Module Placement Methods
Now, fill in the modules on your grid. This part needs focus and a steady hand.
- Find where each module goes based on the QR code’s binary pattern.
- Fill in the modules carefully. Make sure they are all there and in the right place.
- Check your work to make sure everything is correct.
Finishing and Verification Steps
After placing the modules, finish your QR code and check if it works.
- Add borders or decorations to make your QR code look nice.
- Scan your QR code with a handwritten qr code reader app. This checks if it can be decoded.
- If it scans well, your QR code is ready to use!
By following these steps, you can make your own qr code generation. You can use it in many ways.
Common Challenges and Troubleshooting Tips
Making high-quality, scannable handwritten QR codes can be tricky. But, with the right steps, you can beat these challenges. This way, your QR codes will work perfectly.
One big problem is keeping the grid right and the modules in place. If the QR code grid is off or the modules are wrong, scanners might not get it. So, focus on your grid and follow the module placement rules carefully.
Another issue is making sure the QR code stands out against the background. If the colors are too close, scanners can’t tell the code apart. Use clear colors like black on white, and avoid patterns that mess with scanners.
- Maintain proper grid alignment and module placement
- Ensure sufficient contrast between the QR code and the background
- Verify the QR code’s functionality before finalizing your work
Lastly, check your QR code works well before you’re done. Scan it with different devices and apps. This makes sure it takes people where you want them to go.
By being careful and using these tips, you can fix common problems with QR codes. This way, your codes will be reliable and easy to scan.
Digital Tools vs. Handwritten QR Codes
The debate between digital tools and handwritten QR codes is interesting. Digital tools are quick and precise, but handmade codes have their charm. Let’s look at how these two compare, focusing on accuracy, time, and use.
Accuracy Comparison
Digital QR code generators are top-notch in accuracy and consistency. They use advanced tech to make perfect codes that work well with most devices. Handwritten codes need a careful eye and steady hand to match digital quality. But, with practice, skilled people can make reliable handwritten codes.
Time and Effort Analysis
Digital tools save a lot of time and effort. With just a few clicks, you can make and use QR codes. Handwritten codes, however, take more time and effort. But, they offer a unique personal touch that some find worth it.
Choosing between digital and handwritten QR codes depends on what you need and want. Both have their benefits. The right choice depends on your project’s needs and what you aim to achieve.
“The beauty of a handwritten QR code lies in its authenticity and the human touch it brings to the digital world.”
Best Practices for Scanning Handwritten QR Codes
Scanning handwritten QR codes can be fun and unique. But, it also comes with some challenges. To make sure you scan it right, follow these tips.
Enhance Contrast and Clarity
For a good scan, make sure the QR code stands out. Use a dark, quality pen or marker. This makes the code easy to see. Don’t use light colors or thin lines, as they make it hard to read.
Optimize Lighting Conditions
Good lighting is key for scanning QR codes. Place the code in a bright spot, away from shadows or glare. If the light changes, adjust your scanner app’s settings.
Steady the Device
It’s important to keep the scanner still. Use a stable surface or hold it with both hands. This helps the scanner get a clear image.
Align the Code Properly
Put the QR code in the camera’s viewfinder. Make sure it’s centered and big enough in the frame. This helps the scanner read it better.
By following these tips, you’ll scan handwritten QR codes better. It makes the experience smoother for both the creator and the user.
| Technique | Description | Benefits |
|---|---|---|
| Enhance Contrast | Use dark, high-quality pens to create clear, defined modules | Improves readability and successful decoding |
| Optimize Lighting | Position the code in well-lit areas, adjust scanner settings | Reduces interference and ensures accurate detection |
| Steady the Device | Use a stable surface or hold the scanner with both hands | Minimizes camera shake and improves image quality |
| Align the Code | Center the QR code in the camera’s viewfinder | Optimizes the scanner’s ability to read the code |
By following these tips, you’ll scan handwritten QR codes successfully and reliably.
Conclusion
In this guide, we’ve looked into handwriting QR codes. It’s a mix of old-school and new-tech that works well. With a bit of practice, anyone can make QR codes that look good and work well.
Handwriting QR codes can lead to many cool uses. It’s great for personal branding, creative marketing, and even teaching. It’s especially useful when digital tools are scarce or when you want something more personal.
As QR codes become more popular, we’ll see even more creative ways to make them. This skill could be big in fashion, event planning, and personal messages. It’s a skill that combines old-school charm with modern tech, making it very useful today.


